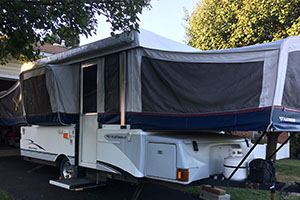
2005 Fleetwood Bayside front
- at least one king-size bed, and
- an air conditioner.
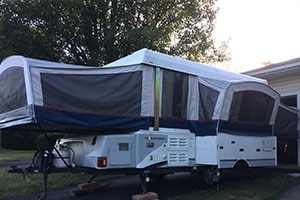
2005 Fleetwood Bayside rear
The problem with Buddy was that it had some level of water damage that left the ceiling material delaminated from the roof, and no one knew exactly the extent of the damage to the interior structure. We’d seen the unit online, and decided it was worth the one-hour trip to the dealer to check it out.
When we examined it in person, it was clear that water had penetrated at least the roof, and, worst case, that the whole roof might need replacing. We negotiated a price, and decided to go home and do some YouTube research to decide if we were up to what could be an entire roof overhaul. We tentatively decided that for the reduced price, it might be worth the risk.
When we bought it and examined it closely, we could see that the previous owners had decided that the leak had something to do with the air conditioner. They had repeatedly tried to remedy the situation by trying different methods. They’d caulked all the way around the bottom of the parts of the air conditioner that they could get to from the top. They’d placed a rubber strip of some sort all the way around the bottom of the air conditioner shroud, and then they’d placed what was probably Eternabond sealant tape across several sections of the black rubber strip. It was a mess, and it still leaked when it rained.
After much online research (thanks Popup Portal!), we decided that the most likely problem was that the RV air conditioner gasket needed to be replaced.
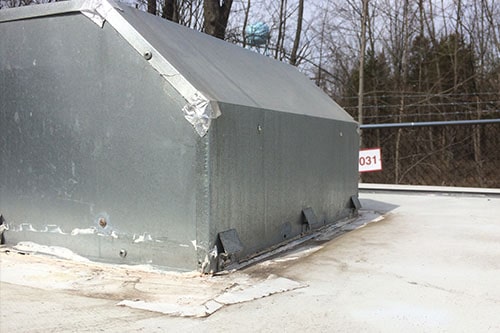
Rooftop AC unit improperly caulked
We looked at online manuals and installation guides, and decided that perhaps the installer had simply not used a gasket at all.

Another view of rooftop AC caulking
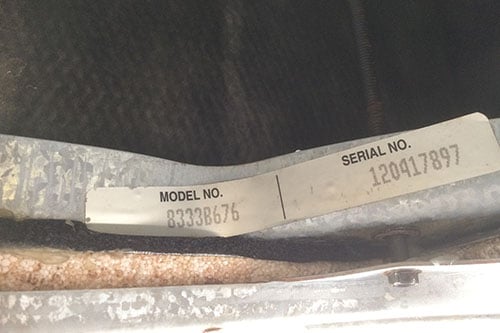
We proceeded to order a gasket online. The RV air conditioner we have is a Coleman Mach 3. It was tempting to order a “universal” gasket for a 14 inch by 14 inch roof hole since they were much cheaper than ordering a genuine Coleman gasket. But after reading lots of reviews, and knowing how much work it was going to be to get the air conditioner off and do the replacement, we decided to spring for the denser Coleman gasket. Who wants to do this again in a year because the cheap gasket fails? Not us.
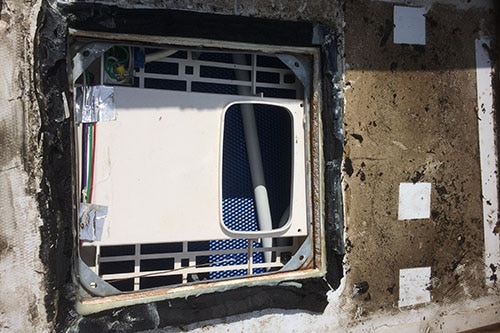
The day came when we were ready to tackle the job. First, we opened up the camper to get to the inside air conditioner ceiling assembly.
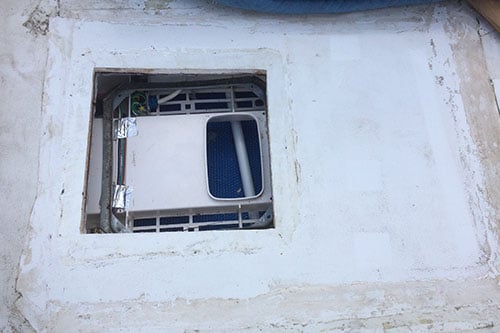
Over-compressed gasket, inside view
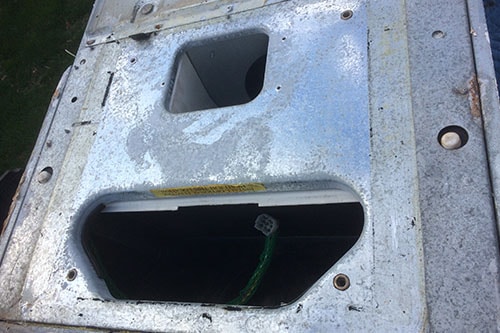
Roof with RV AC unit removed
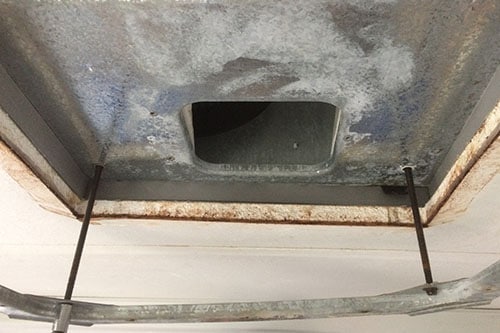
Roof with old gasket carefully scraped off and cleaned
Once we were done, it was easy enough to peel the paper off the new gasket and lay it on the ac unit exactly where the old one had been. (The sticky side goes on the ac unit, not on the roof.) The roof ac unit had a built in “gasket indicating tab” that would show when the new gasket had been properly tightened, so we made sure that we didn’t obscure that rubber tab. You can see the gasket indicating tab in the photo below left. It’s toward the upper left along a seam; it’s a small black rubber tab sticking up at about a 70 degree angle from the surface of the ac unit. You’ll need to be able to see that tab from the inside of your camper when you reposition the air conditioner over the roof hole.
RV AC unit cleaned, with gasket indicating tab
At this point it was time to open the pop up back up, and see how things looked from the inside. We were concerned that it would be very hard to maneuver the approximately 100-pound air conditioner from the inside if it was not quite lined up properly. While we’d done a pretty good job lining things up, we found that it was possible to slightly lift and move the unit from the inside to get it lined up just right. We re-attached the inside portion of the ceiling assembly with the four long screws. Reading the original installation directions found online, we knew that we needed to tighten the screws just until the gasket indicating tab was touching the roof – that provides an approximately 60% compression of the gasket, the manufacturer’s optimal percentage. That compression is all that is required to achieve an appropriate seal and keep water out of the camper. The picture here shows the gasket indicating tab in the lower right corner before we compressed the gasket by tightening the screws.
Interior image of newly installed gasket (gray) before compression
Once that was completed, we could re-attach the outer portion of the ceiling assembly. Success! After ensuring the unit was working as hoped, we collapsed the pop up once more, climbed onto the roof, and re-installed the shroud.
As we were finishing the project, the skies were darkening and we could feel sprinkles starting. Perfect – we’d be able to tell if our newly installed gasket would solve the issue of leaking water! The next day, we opened up Buddy and, much to our joy, there was no water inside.
We’ve since camped during a number of rainy nights, and we are happy to report that the RV air conditioner gasket repair has done its job.
Leave A Comment